The Kitora

Crochet Whale Kit Tutorial

Library

Thank You for Choosing Kitora! 🐋

This tutorial series will guide you step by step through creating your whale (Bloomi or Breezo) in five easy lessons. Happy crocheting! If you feel frustrated at any point during the videos, kindly visit the Frustration Points playlist listed here. If you still have questions or any other issues, please send an email to us and we will contact you.

Your Crochet Progress

Completed: 0/5 lessons

0%
Part 1

Materials & Preparation

Part 1 Thumbnail

Lesson Overview

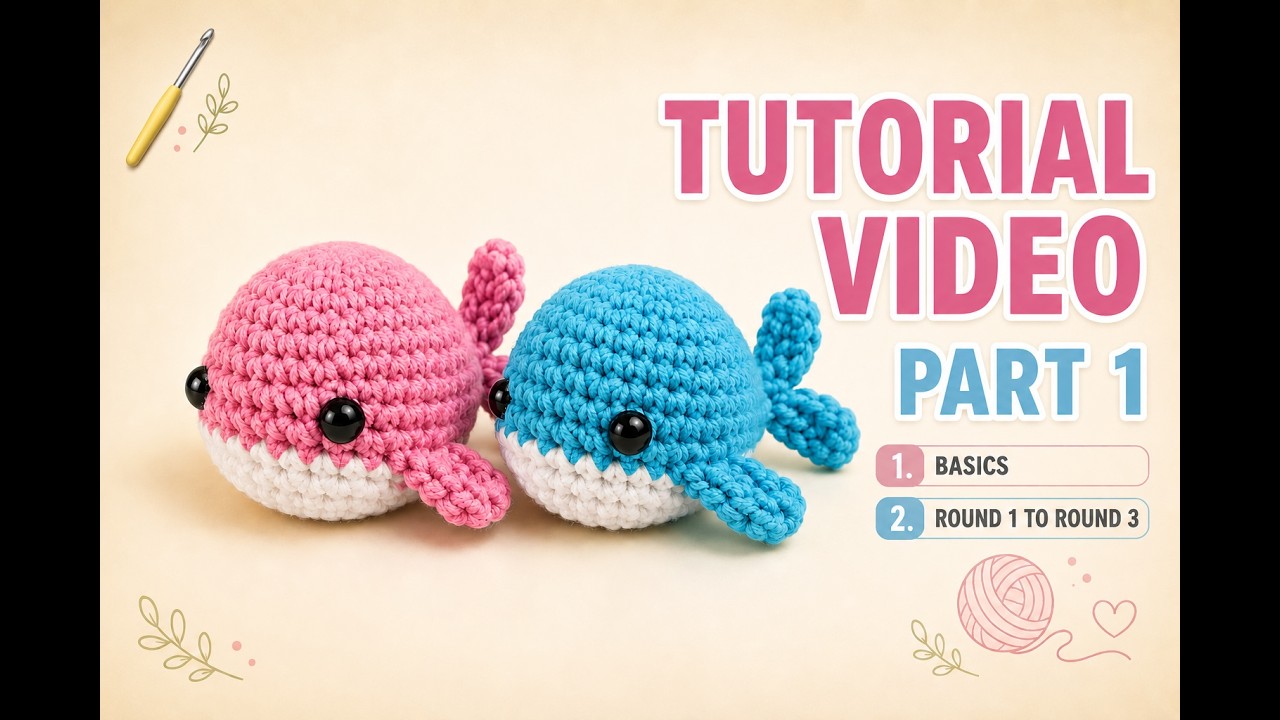
Learn about the materials required for crocheting your Breezo or Bloomi. When you open your kit, Round 1 is already done as a magic ring. In this lesson we cover the basics - how to hold your yarn, how to find your stitch, and how to place your stitch marker. You will then learn the single crochet and increase stitches, working through two rounds.

  • Use Pink or Blue Yarn as chosen.
  • Count stitches each round.
  • Maintain even tension.
  • Use a stitch marker.
  • Identify stitches before crocheting.
Part 2

The Magic Ring

Part 2 Thumbnail

Lesson Overview

Shape the whale's body by working increase rounds and maintaining accurate stitch counts. You'll learn how strategic increases create a smooth, rounded form and prepare for the upcoming color change that forms the whale's belly.

  • Follow the increase pattern.
  • Count stitches each round.
  • Keep tension consistent.
  • Use a stitch marker.
  • Stop before the last stitch of Round 7.
Part 3

Crocheting the Whale Body

Part 3 Thumbnail

Lesson Overview

Learn how to smoothly change yarn colors to create the whale's signature white belly. In this section, you'll transition from the main body color to white and begin shaping the body with invisible decreases, helping your crochet piece maintain a neat and professional finish.

  • Complete the color change.
  • Attach white yarn securely.
  • Follow invisible decreases.
  • Check for 20 stitches.
  • Maintain even tension.
Part 4

The Whale Tail & Finishing

Part 4 Thumbnail

Lesson Overview

In this round you will learn how to attach your safety eyes and placing them at the right position on the face and securing them firmly between these two rounds, while the opening is still wide enough to work inside and you will work two rounds of invisible decreases combined with single crochets.

  • Follow invisible decreases for a neat finish.
  • Insert the hook through front loops only.
  • Place safety eyes in the marked stitches.
  • Attach fins and tail evenly.
Part 5

Assembly & Finishing

Part 5 Thumbnail

Lesson Overview

Complete your crochet whale by learning the final shaping and finishing techniques. In this section, you'll use invisible decreases to close the opening, add stuffing for a soft and rounded shape, and attach the fins and tail to bring your whale to life.

  • Use invisible decreases.
  • Stuff evenly.
  • Avoid overstuffing.
  • Close the opening.
  • Secure fins and tail.

© 2026 The Kitora. All rights reserved. Crafted with love.